Decided to build my Thunderhawk mark 3, a while ago i made my first one and noticed huge changes could be made so i refreshed my memory with my mark 2 and changed the plans while i built it so here is the results.
Mark 1
Mark 2
Mark 3
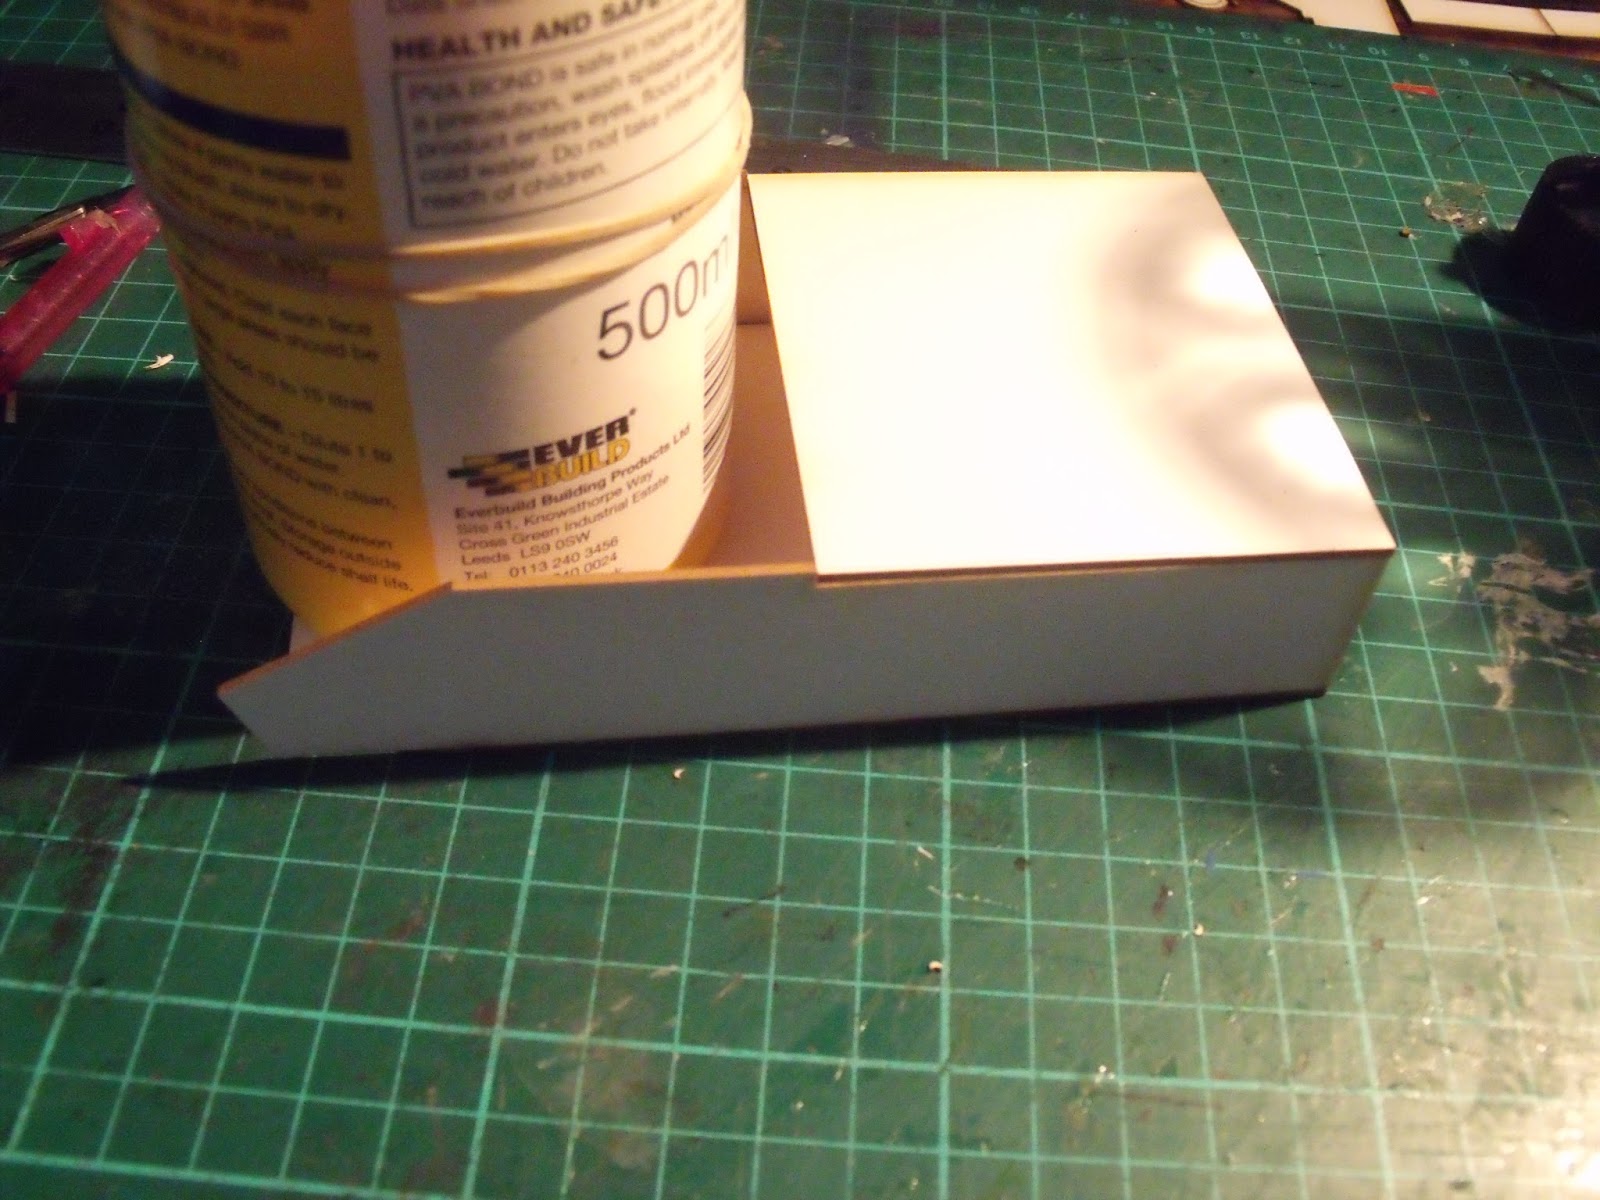
The mark three starts with the construction of the entire body, the front troop section and the main back rectangle, this is different from the others because they consisted of two parts. the structure has also been changed to reduce material.


The boxes (above) on the inside of the model is where the landing gear goes

 |  |
You can see above the difference in the construction of the main hull of the thunderhawk, the new method will make it stronger, remove the hassle of joining them together and remove the big ugly join line up the side of the model. These photo are from the mark 1 model


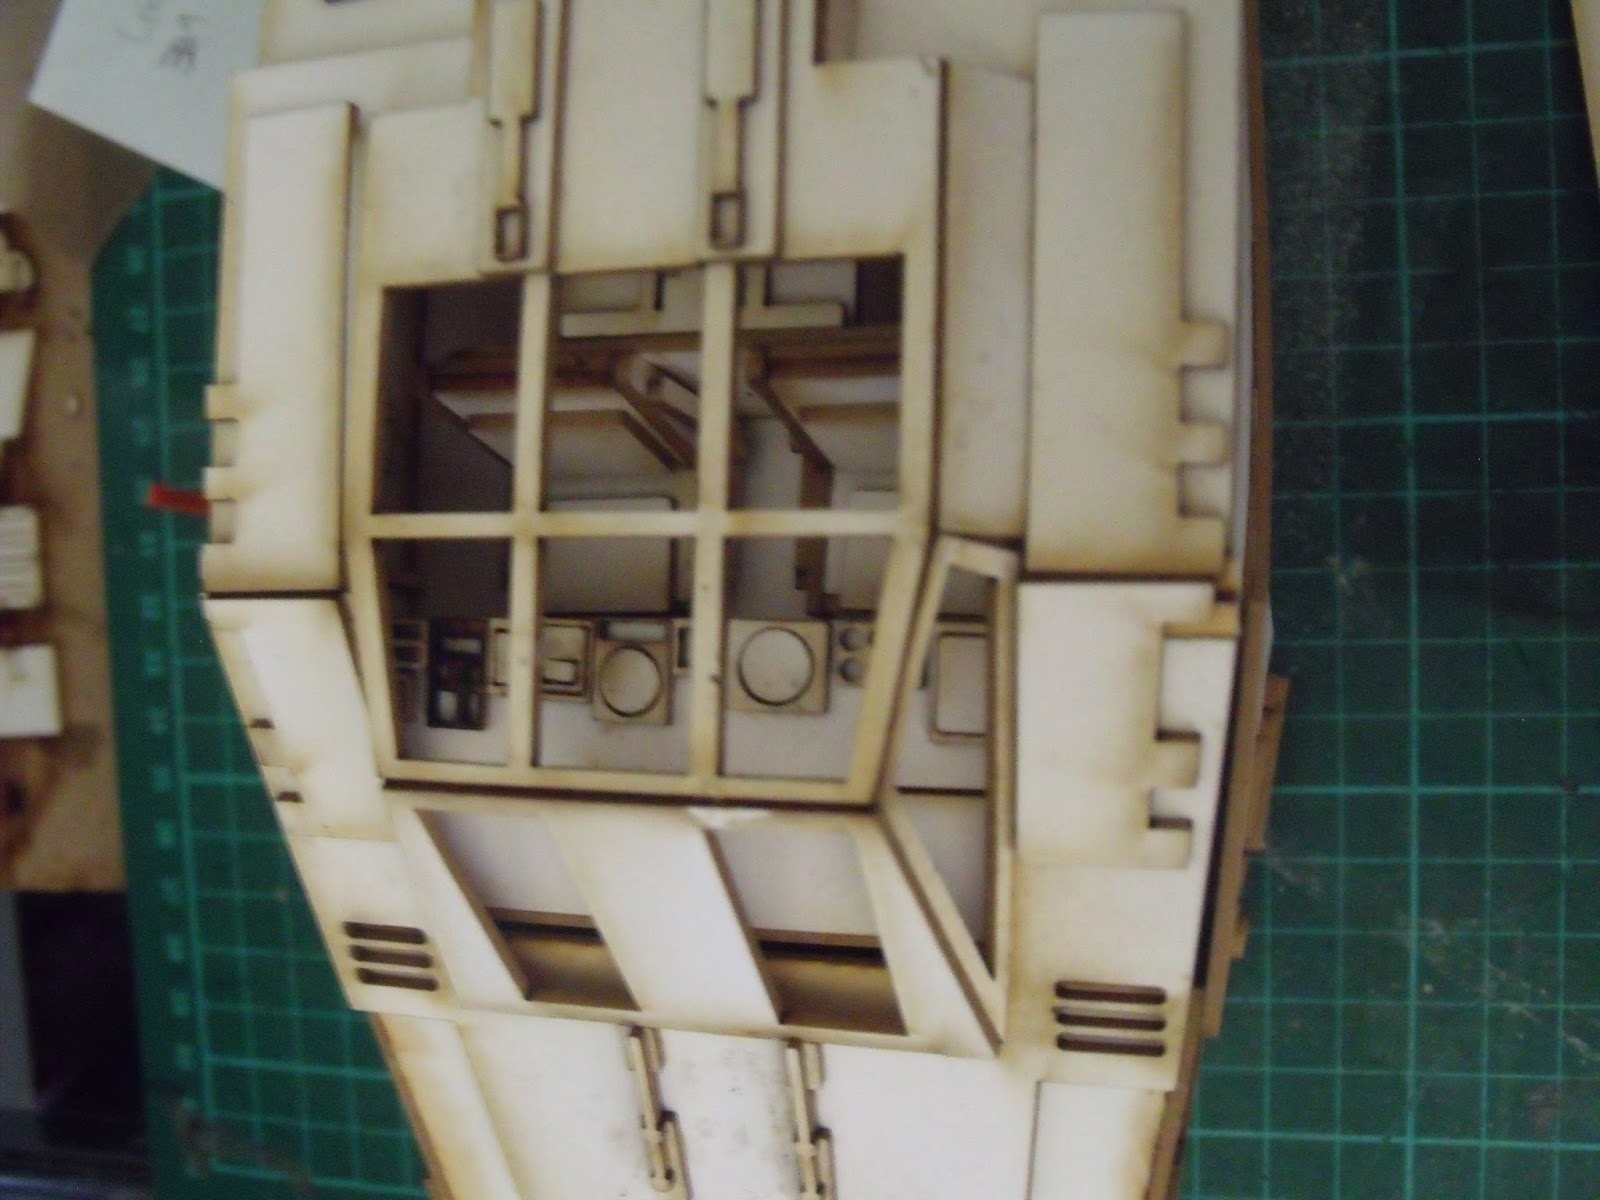
The internal detail has been simplified to reduce the amount of individual parts but keep most the detail. i did this be merging and details which join.


 the cockpit design has been changed so that it is the same width as the thunderhawk the last one was 3mm to wide
 finally fixed the rivet in the cockpit that turned up in the last two models

 cockpit with the canopy on
 first thunderhawk.
you can see the unwanted rivets on the nose and the one pesky one on the canopy
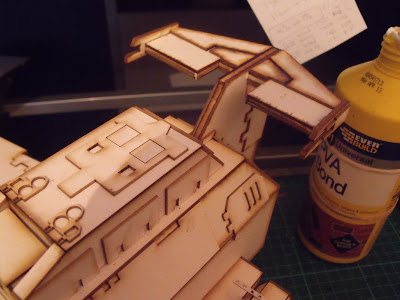
 working on the rear body building up the shape of the hawk

 lots of tape to hold it in shape while it sets

 the grate below the main cannon has been changed so each slat wasn't cut out this was a major headache arranging them neatly
 first thunderhawk
if you look ate the start of the cannon each slat is individual, also removed the rivets on the armour plate
 the wings are another point that have had a huge change the wing and joining structure on the hawk are now one piece making construction quicker and stronger


you can see the unwanted rivets on the nose and the one pesky one on the canopy


if you look ate the start of the cannon each slat is individual, also removed the rivets on the armour plate

 |  |
photos from first thunderhawk. you can see that the wing joined onto a structue that was built before and then stuck onto the body, i have made this structure and wind one piece. i have also closed the hatch where you can see the landing gear as this was a mistake


The engine houseing just slots down onto the wing from above and then the bottom slats are glued in place

The landing gear and bottom detail all in place

The rear tail and wings


Nose wings and las cannon wings


 these wings were changed on mark 2 but i didnt show how
 mark 1 here you can see the difference
thunderhawk is finished


thunderhawk is finished


is there any way you could make files available or send them via email?
ReplyDeleteI know it has been a while but same thing here.
ReplyDeletei was hoping this too
ReplyDeleteHi, pretty awesome, can you share the files? Please???
ReplyDeleteThisbis muy mail joseantoniovadillovera@gmail.com